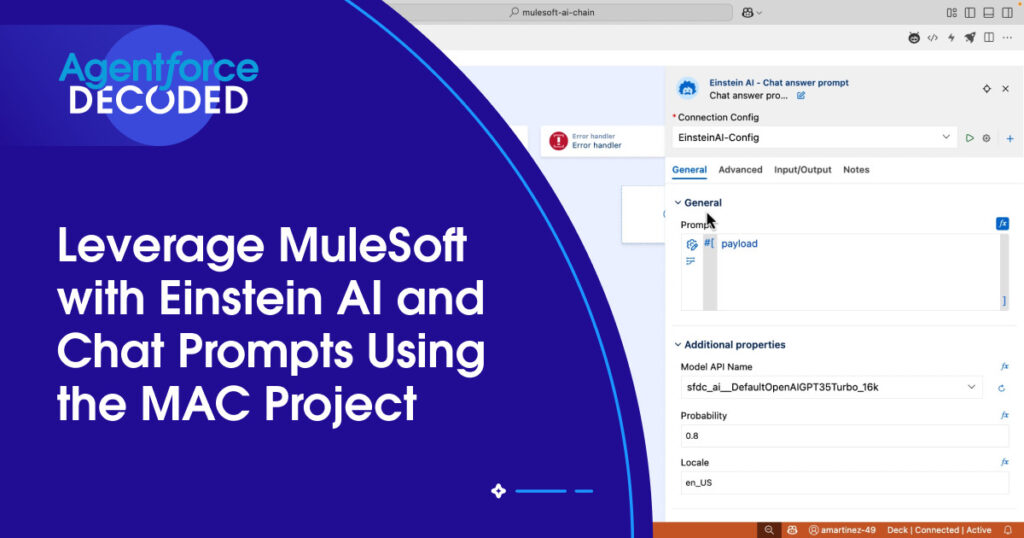
In our first post in this series, we explored how to connect a MuleSoft application with Salesforce’s Einstein AI using the MuleSoft AI Chain (MAC) project. MAC streamlines the development process with a suite of connectors to LLMs, vector databases, APIs, and token management systems directly from within Anypoint Studio or Anypoint Code Builder.
In this post, we’ll show you how to use the Chat Answer Prompt connector in MuleSoft to simplify the response we get from Einstein and streamline AI interactions within your integration flows. Instead of defining a Prompt Template where you have to explain exactly how to transform the output message, like we did in the first post, Chat Answer Prompt will simply give you the full, unedited response from the LLM of your choice.
Prerequisite:
Before you get started with this tutorial, be sure to refer to the previous post for instructions on how to set up and configure a connected app in Salesforce.

Configure MuleSoft Application
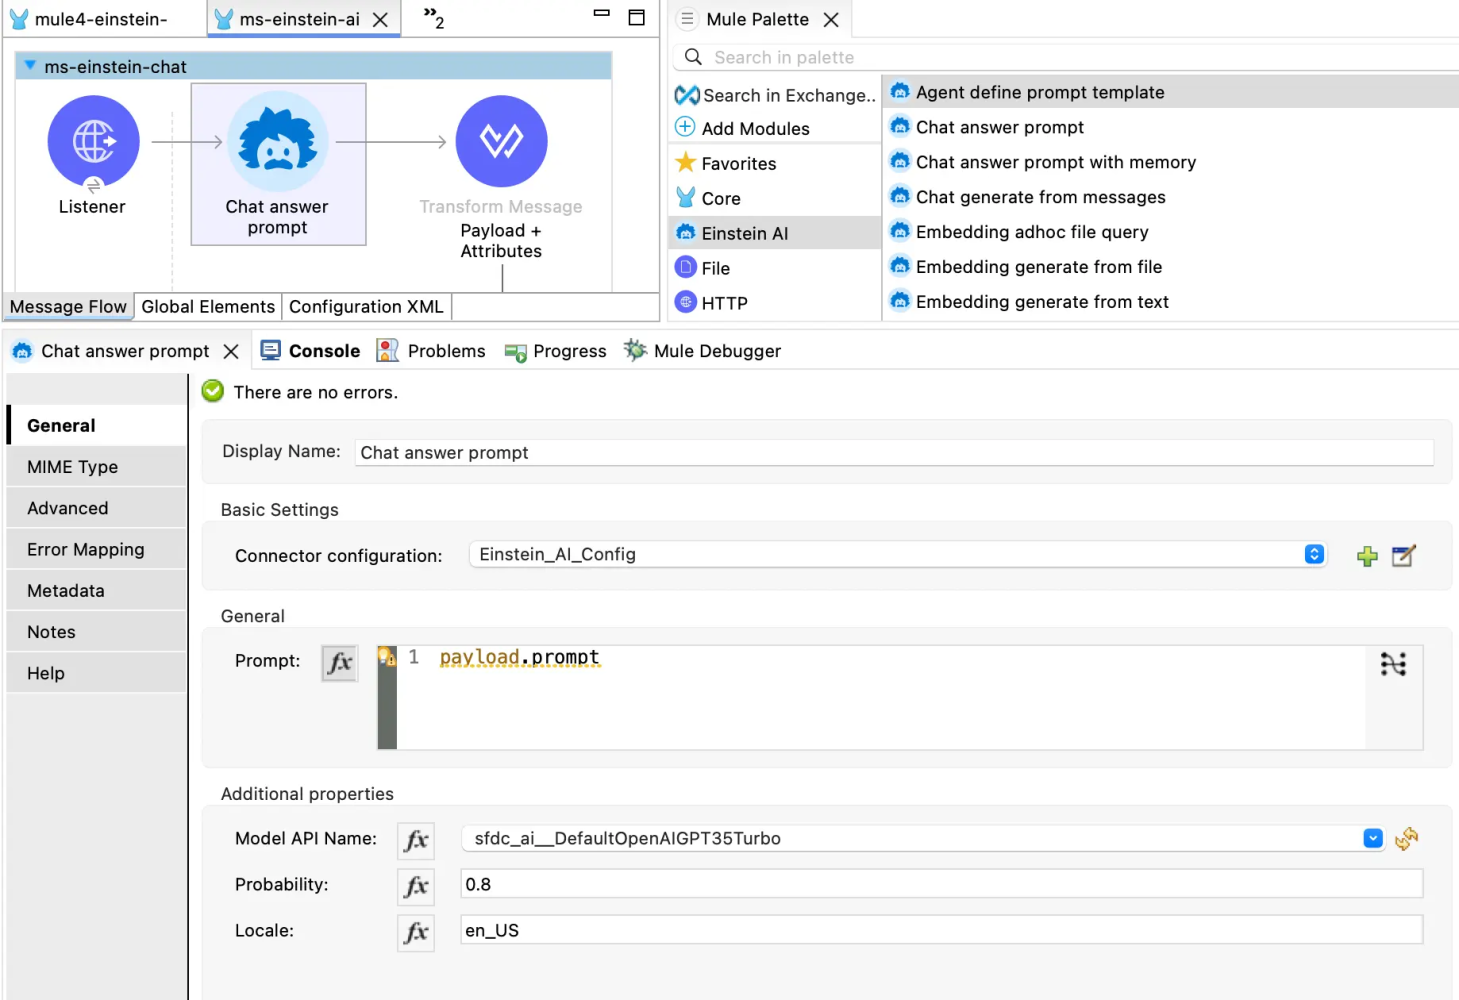
With the Chat Answer Prompt connector, we want to create an API that can take an input prompt (or question), connect it to an LLM through the Einstein Trust Layer, and give a raw response back. You can then connect this API to any application of your choice, like a personalized chatbot app, a WhatsApp integration, or even for a VS Code extension.
Open or create a MuleSoft project. In the demo video below, a simple HTTP listener is configured to respond to /einstein. This Mule flow includes:
- Chat Answer Prompt connector: Where the actual prompt and model are configured
<flow name="flow1">
    <http:listener config-ref="Listener-config" doc:id="xnfbyi" doc:name="/einstein" path="einstein"></http:listener>
    <ms-einstein-ai:chat-answer-prompt doc:name="Chat answer prompt" doc:id="cyinaj" config-ref="EinsteinAI-Config" modelApiName="sfdc_ai__DefaultOpenAIGPT35Turbo_16k"/>
  </flow>
- Einstein AI configuration: Including the Salesforce credentials
<ms-einstein-ai:config name="EinsteinAI-Config">
    <ms-einstein-ai:oauth-client-credentials-connection>
      <ms-einstein-ai:oauth-client-credentials clientSecret="your-consumer-secret" tokenUrl="https://your-domain/services/oauth2/token" clientId="your-consumer-key"></ms-einstein-ai:oauth-client-credentials>
    </ms-einstein-ai:oauth-client-credentials-connection>
  </ms-einstein-ai:config>
Deploy and test
Once deployed, your MuleSoft application is ready to send requests to Einstein AI. Here’s how it handles a simple example. Note that the input is just a text and not a JSON format.
Request:
What's the capital of Canada?
Response:
{
    "response": "The capital of Canada is Ottawa."
}
Conclusion
This setup demonstrates how MuleSoft can act as a powerful middleware platform to leverage Salesforce Einstein AI for natural language processing. By configuring the MAC project correctly and using the right credentials and endpoints, you can easily build intelligent, responsive APIs that adapt to user feedback and provide automated, context-aware responses.
Stay tuned for more posts in this series, and happy integrating!
Resources
- Agentforce Decoded Video: Leverage MuleSoft with Einstein AI and Chat Prompts Using the MAC Project
- Blog post: Integrating MuleSoft with Einstein AI and Prompt Templates Using the MAC Project
- Blog post: Introducing the MuleSoft AI Chain Project
- Overview: The MuleSoft AI Chain Project
About the author
Alex Martinez was part of the MuleSoft Community before joining MuleSoft as a Developer Advocate. She founded ProstDev to help other professionals learn more about content creation. In her free time, you’ll find Alex playing Nintendo or PlayStation games and writing reviews about them. Follow Alex on LinkedIn or in the Trailblazer Community.
The post Leveraging MuleSoft with Einstein AI and Chat Prompts Using the MAC Project appeared first on Salesforce Developers Blog.


